It’s mango season, which means I make a lot of desserts using them. This mango cheesecake has been a favourite in our home for many years now. Long before I learnt the art of baking cheesecakes, I was quite the no-bake dessert queen. I couldn’t help but go back to this old favourite this season.
This mango cheesecake is very simple to make. Yes, it uses gelatin and if you have qualms about using it, don’t worry, I got you. I’ll put in step by step instructions on how to correctly use gelatin. The rest of the dessert is easy peasy and only needs sufficient time in the fridge to set. Effort wise, pretty non-demanding and taste wise, absolutely moreish.
Using Mangoes
Mango is one fruit that I loved as a child and have continued to enjoy as an adult. I try to make most of the season, by buying and trying out a variety of mangoes the whole season. Sometimes, I go a step ahead, buy a few extra mangoes, peel and chop them and put them in the freezer to use later, when mangoes aren’t available. Obsessed you may say, but the joy of eating mangoes in October is something else.
You can use any variety of mangoes in this no-bake mango cheesecake. The sweeter the better. Alphonso, Badami or Mallika will work great. To use it for the cheesecake, peel the fruit, scoop out the flesh and blend to a puree in the food processor.
Baking with mango
If you like baking with mangoes, try this Semolina mango cake. It is fairly simple to make and doesn’t go overboard with mango flavour.
Follow me on Instagram for more updates from my kitchen.
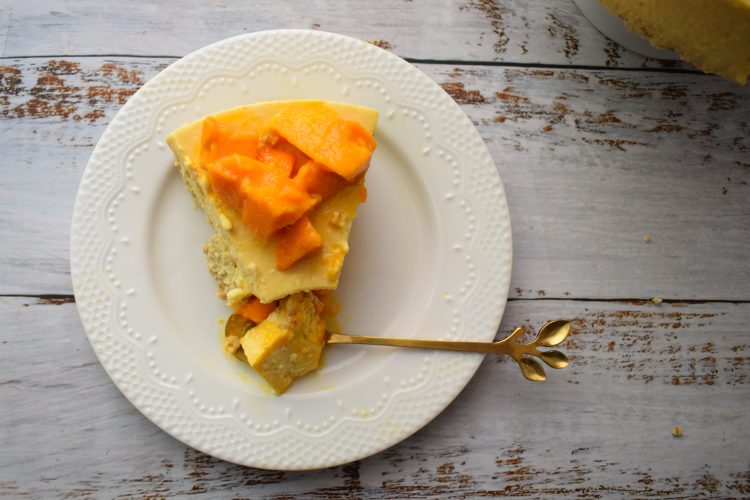
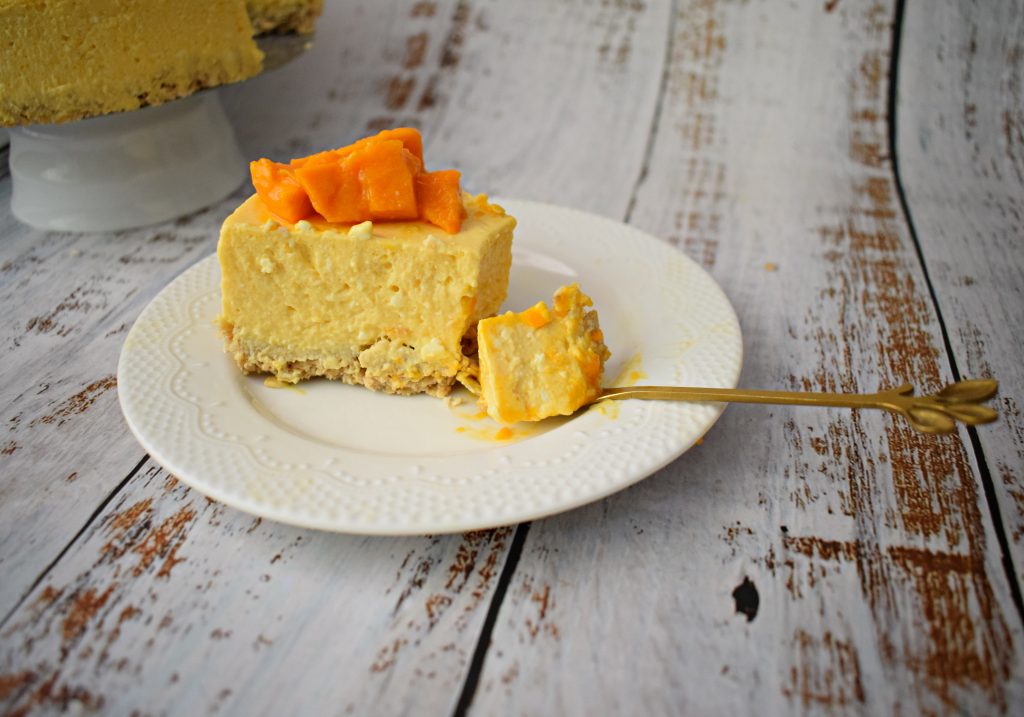
No-Bake Mango Cheesecake :
Ingredients :
For the crust :
250 gms digestive biscuits
75 gms melted butter
For the filling:
1 tbsp gelatin
1 cup mango puree
1/2 -3/4 cup icing sugar (depending on the sweetness of the mangoes)
200 gms cream cheese
200 ml cream
To serve
1 cup freshly chopped ripe mango.
- Start by lining an 8 inch round springform tin with greaseproof paper. If you are using a regular tin, read this.
- Powder the biscuits either by using a rolling pin or by pulsing the biscuits in a food processor.
- Add the powdered biscuits to a bowl with the melted butter. Mix using a spoon, till you have a mixture that resembles crumbs.
- The mixture should just about come together. If the mixture is too wet, add some more powdered biscuit.
- Tip the biscuit mixture into the prepared cake tin, pressing the mixture all over the base and slightly on the sides.
- Let the tin rest in the fridge as you get the filling ready.
- To make the filling, first, let the gelatin bloom. To do this, in a small microwave-safe bowl, mix the gelatin with 3 tbsp of water. Set aside.
- Make sure all other ingredients are at room temperature.
- In a large bowl, mix the rest of the ingredients for the filling. Using an electric cake beater, whisk the mixture until it is free of lumps.
- By now, the gelatin mixture would have bloomed. Put the gelatin mix in the bowl in the microwave and heat for 20 seconds. You’ll now have a clear gelatin mixture. Add this to the whisked filling. Mix well.
- Pour the filling over the chilled biscuit crust.
- Leave the cheesecake in the fridge to set overnight.
- To remove the cheesecake out of the tin, once it has set, run a knife around the edges. Release the spring form to get the cheesecake out on the base of the pan.
- Serve with freshly chopped mango